Android Pattern Lock – Add Pattern Lock View to Your App
Hi and welcome to another tutorial from Codingdemos, in this tutorial you will learn how to add pattern lock view inside your app. You can use this method as a way to provide some sort of authentication inside your app. For example you can use pattern lock view to validate the user before allowing him/her proceed to purchase something.
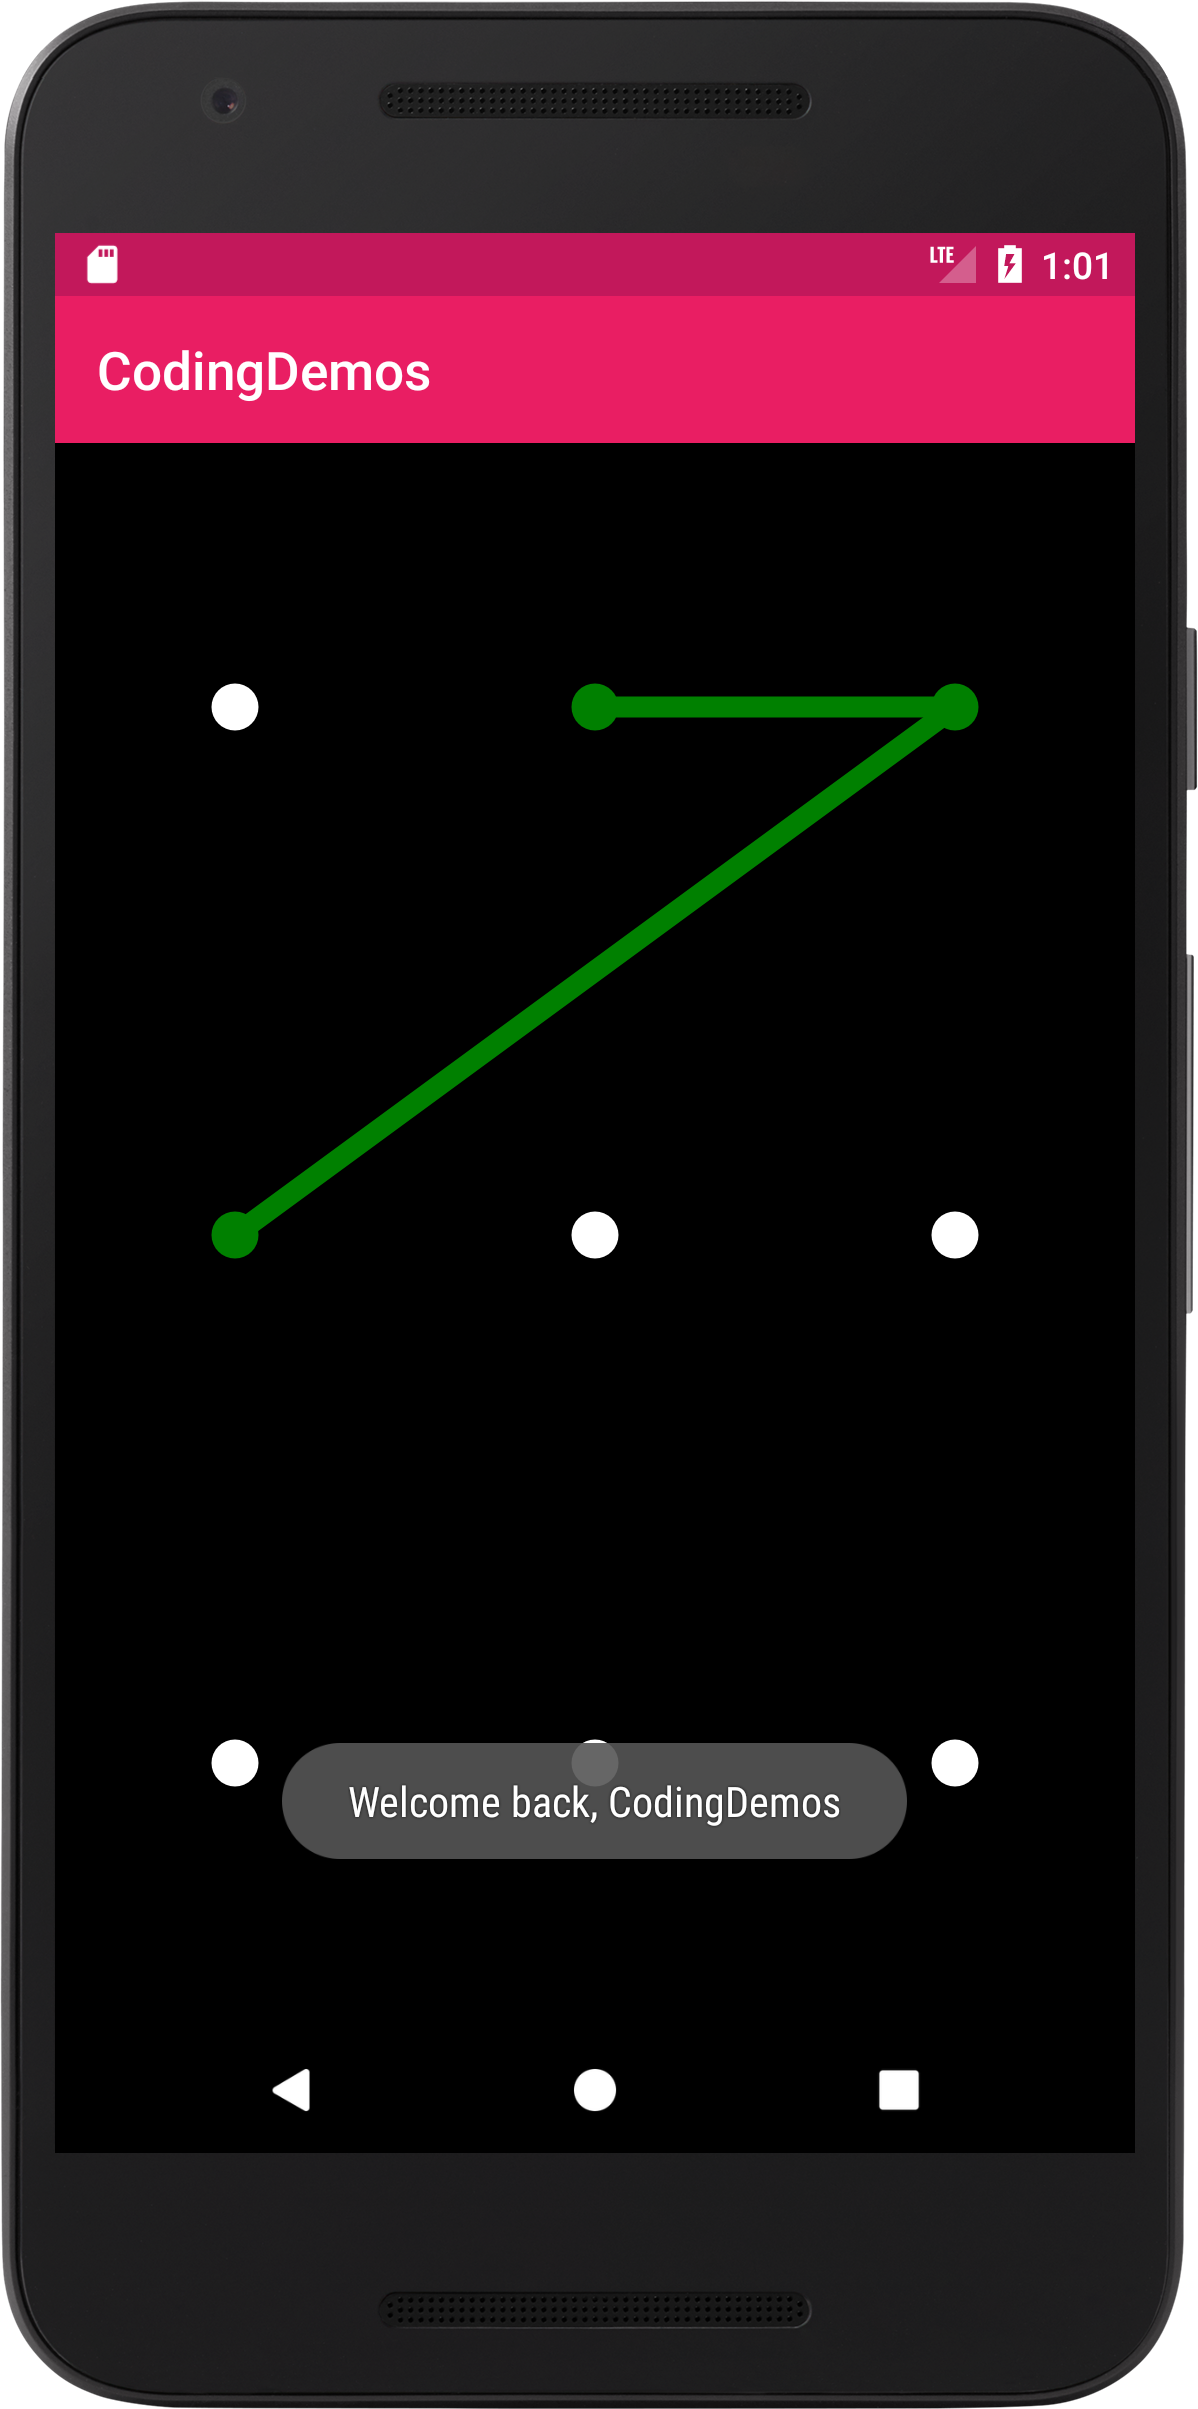
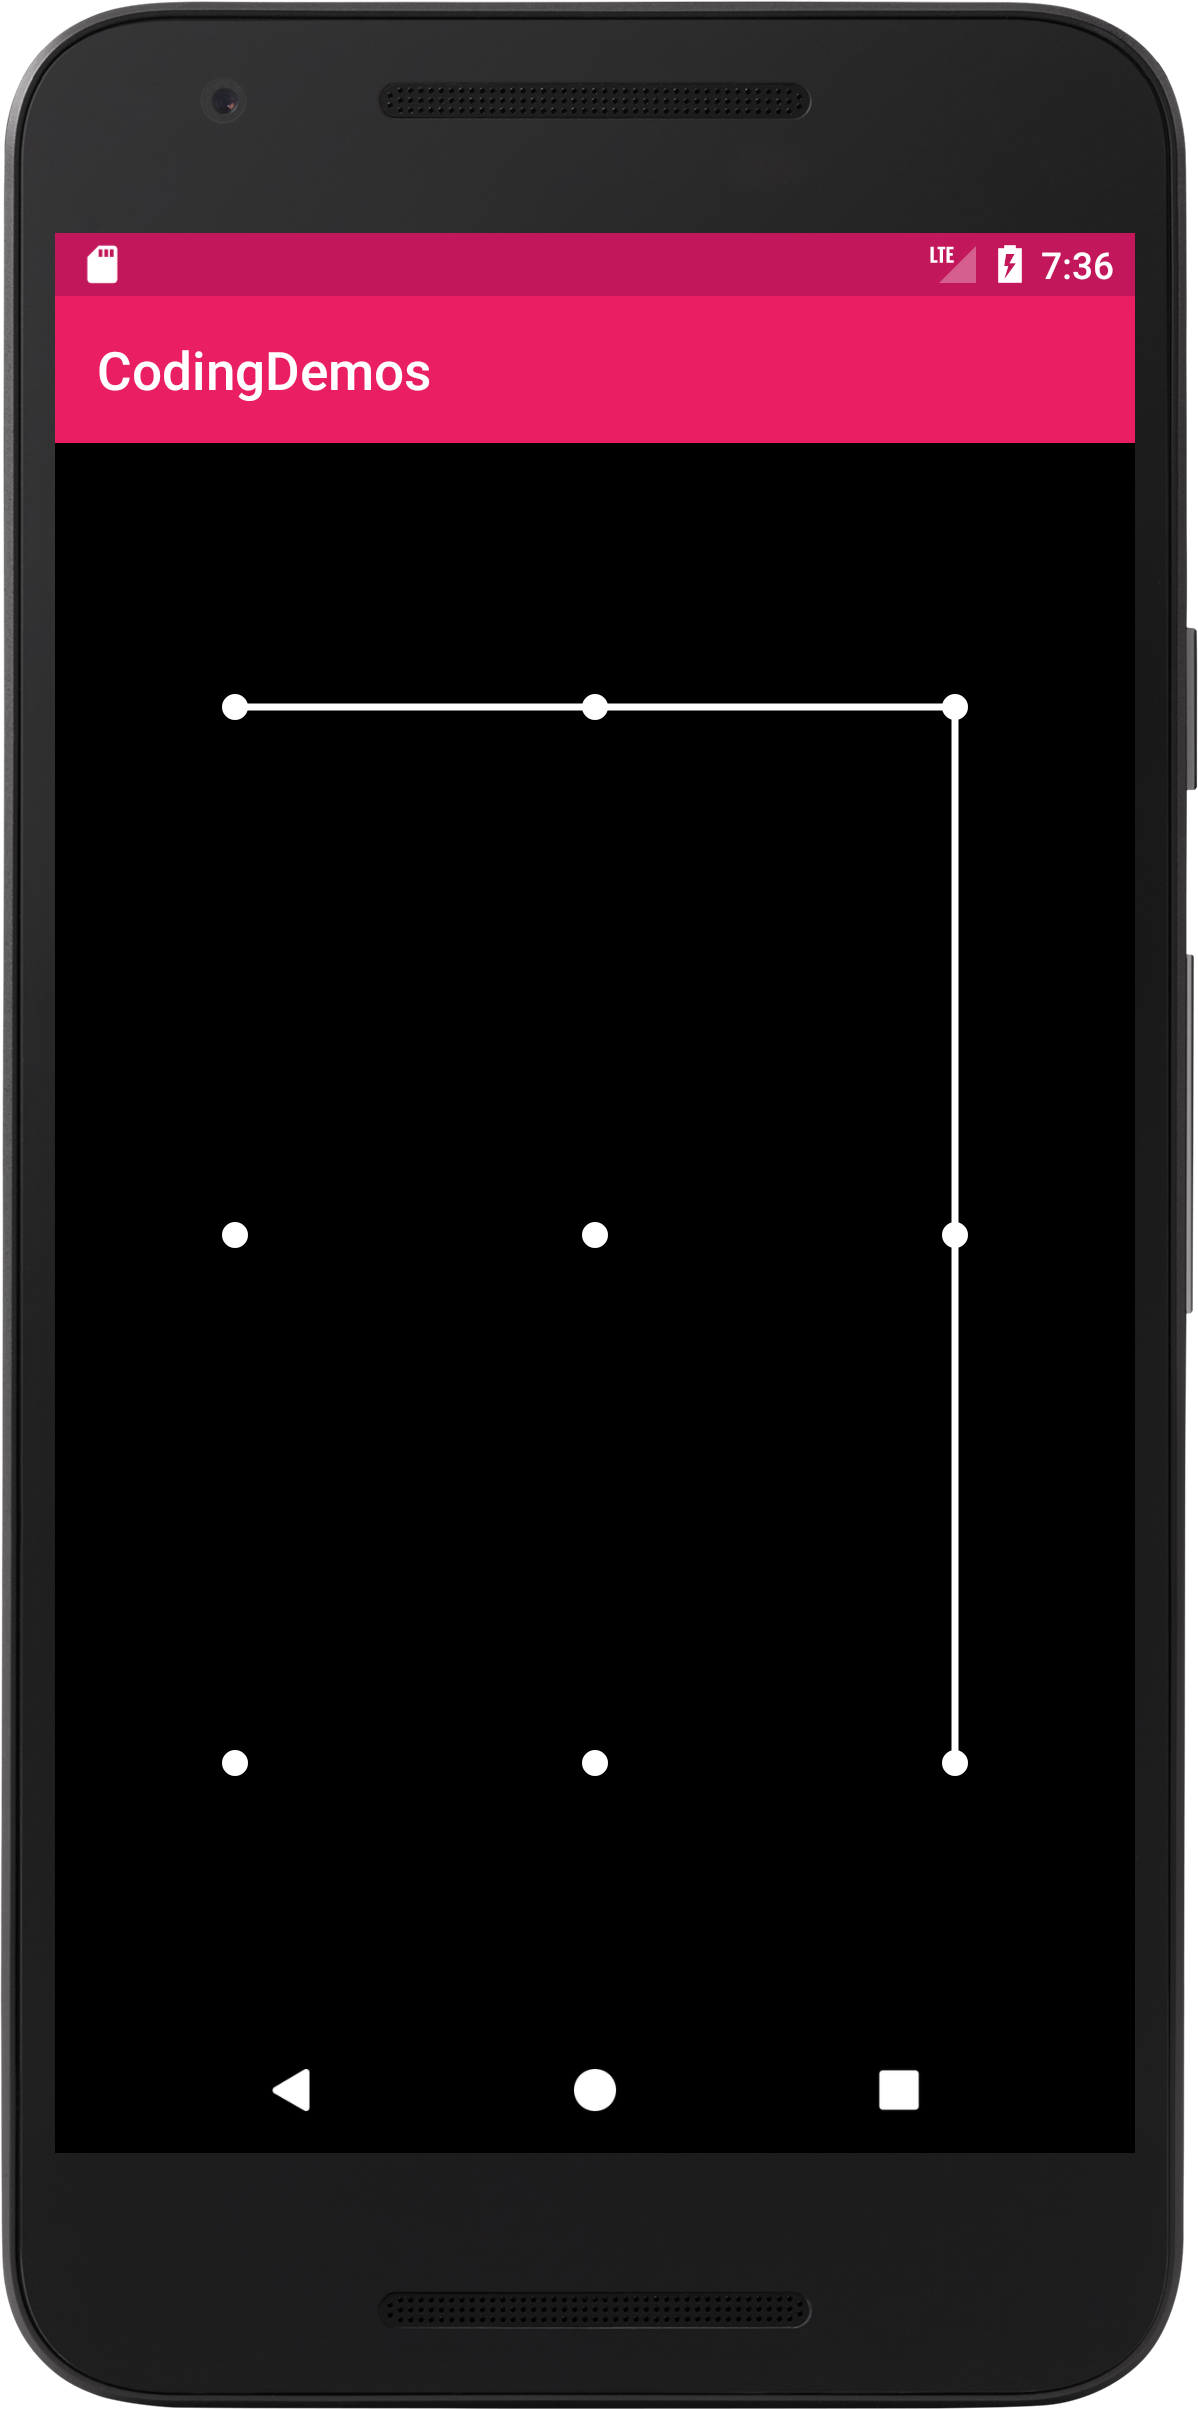
By the end of this tutorial, you will have an app that looks like this. (Large preview)
In this tutorial you will be using a 3rd party library called (PatternLockView) which will help you to add this functionality in your app.
You will build an app that utilize this pattern lock view library to validate whether the user have swiped his/her finger on the correct dots, which will then show a success Android Toast message. Otherwise will show a red line which indicate the dots which was swiped by the user were wrong.
1- Open up Android Studio and open any project that you have in your computer.
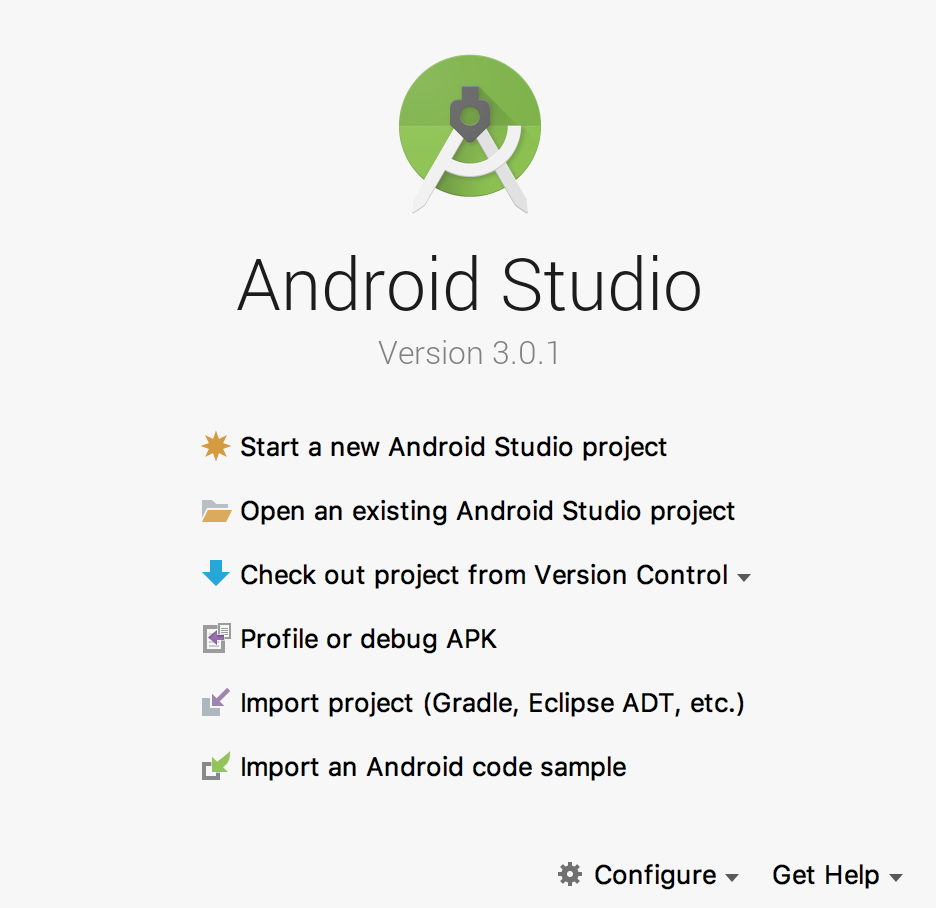
Create new Android Studio project or open existing project. (Large preview)
2- Open up build.gradle (module:app) and add the library in the dependencies.
implementation 'com.andrognito.patternlockview:patternlockview:1.0.0'
3- Next you need to open up build.gradle (Project) and add Jcenter because this library is available through it.
allprojects {
    repositories {
        google()
        jcenter()
    }
}
4- Now sync your project by clicking on Sync Now.

Android studio sync project. (Large preview)
5- Open up colors.xml file to change the colors of the main app.
< color name="colorPrimary">#E91E63< /color>
< color name="colorPrimaryDark">#C2185B< /color>
< color name="colorAccent">#536DFE< /color>
6- Build and run the app to see the new colors.
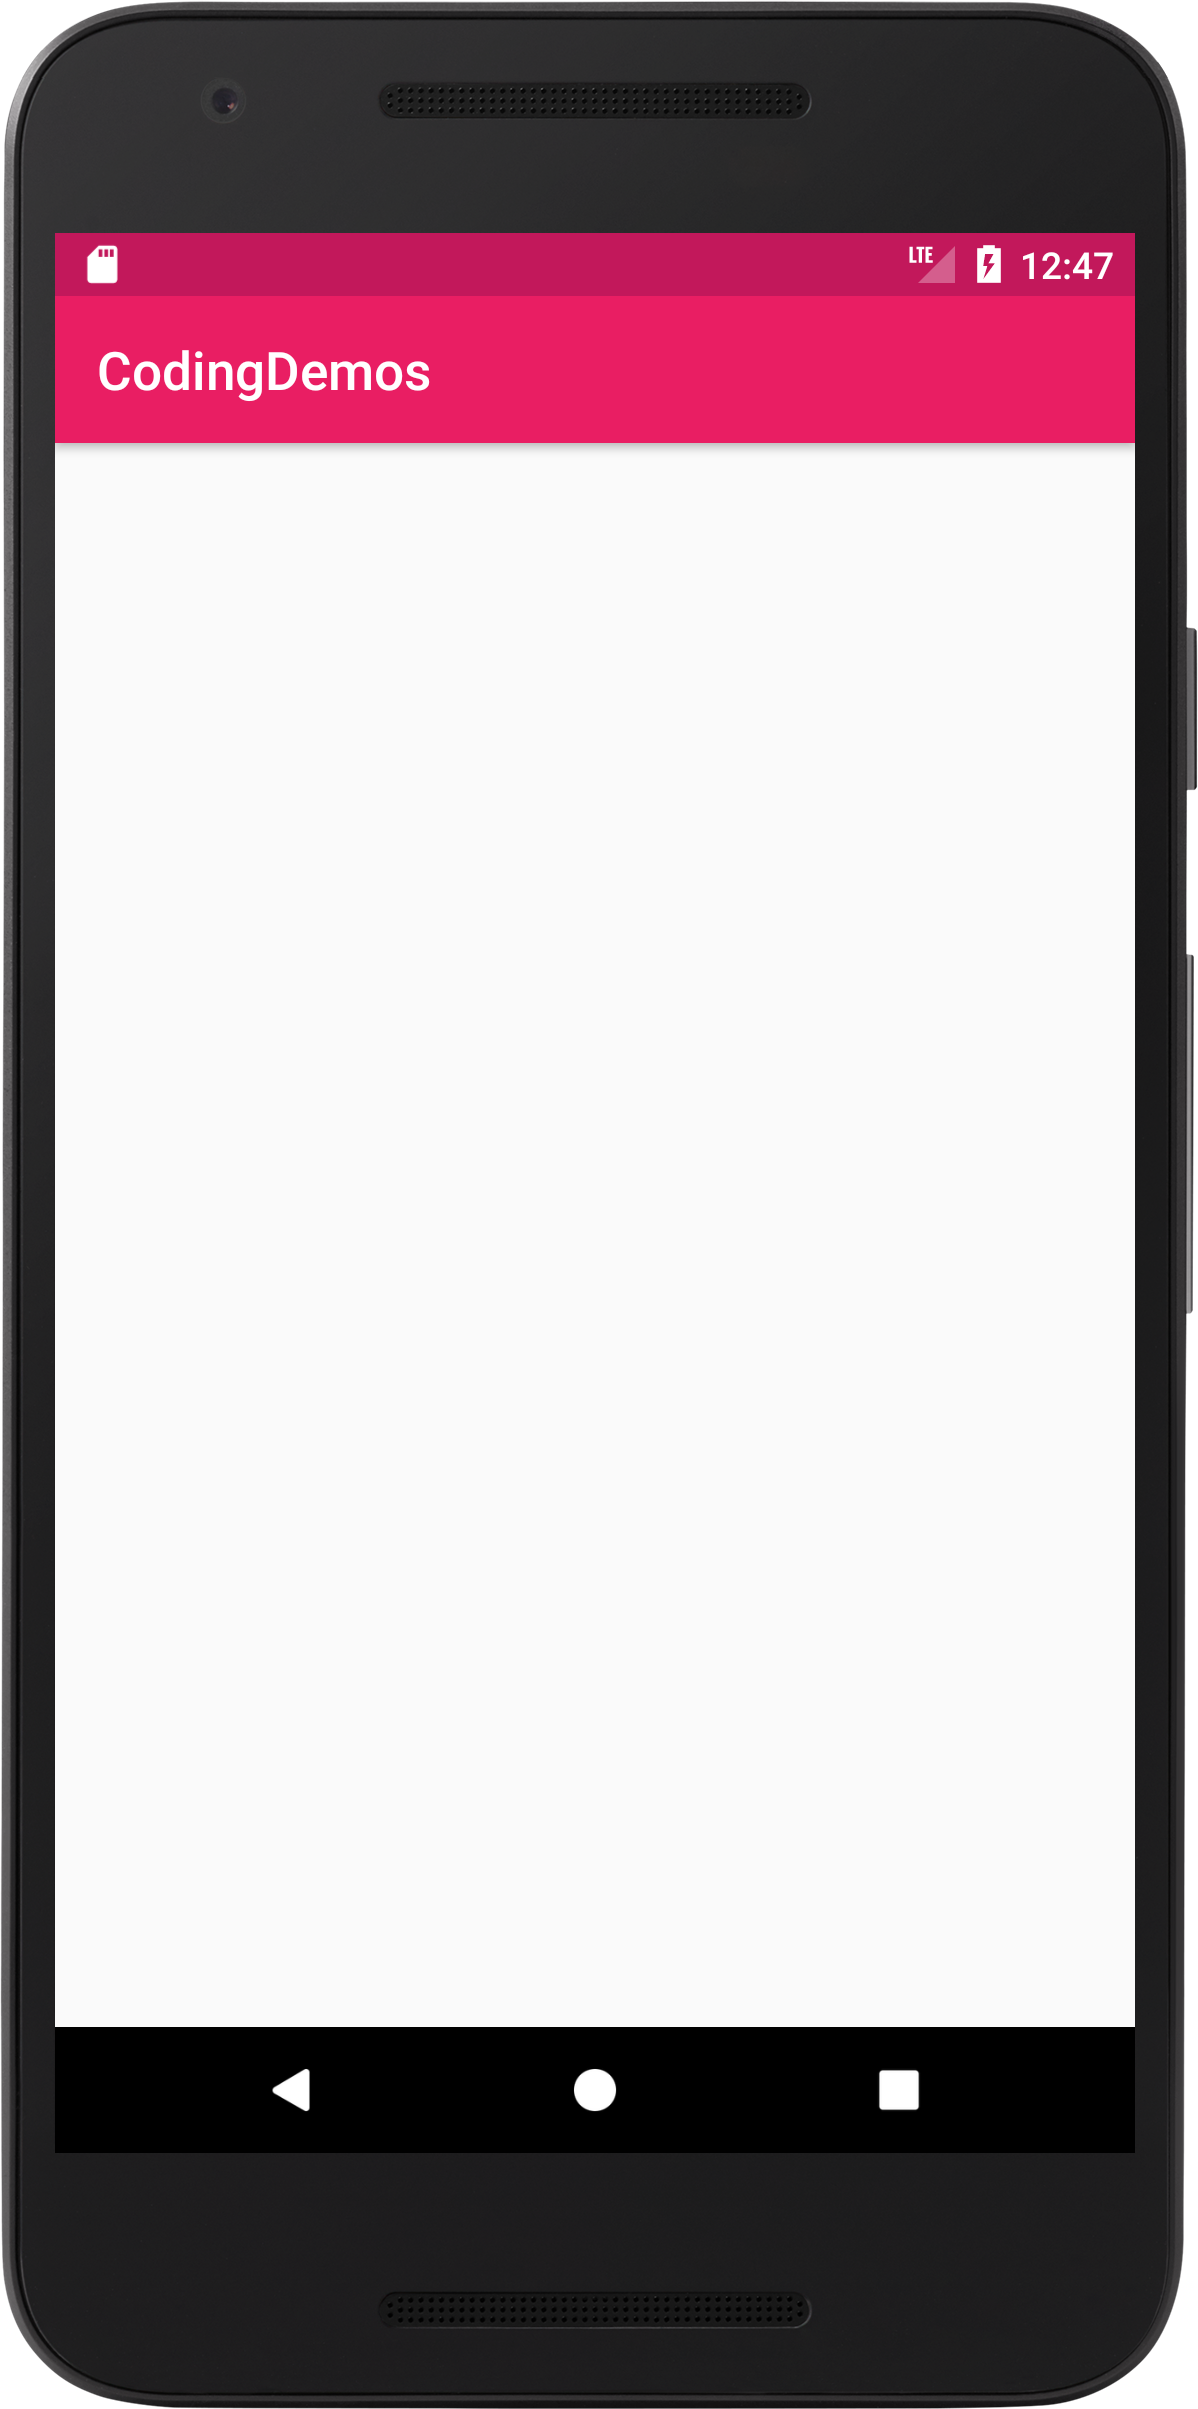
New colors for the app. (Large preview)
7- Next open up activity_main.xml file and add the following pattern lock view code.
< com.andrognito.patternlockview.PatternLockView
    android:id="@+id/patternView"
    android:layout_width="wrap_content"
    android:layout_height="wrap_content" />
8- If you build and run the app you will not see anything, unless if you look closely then you will see some dots.
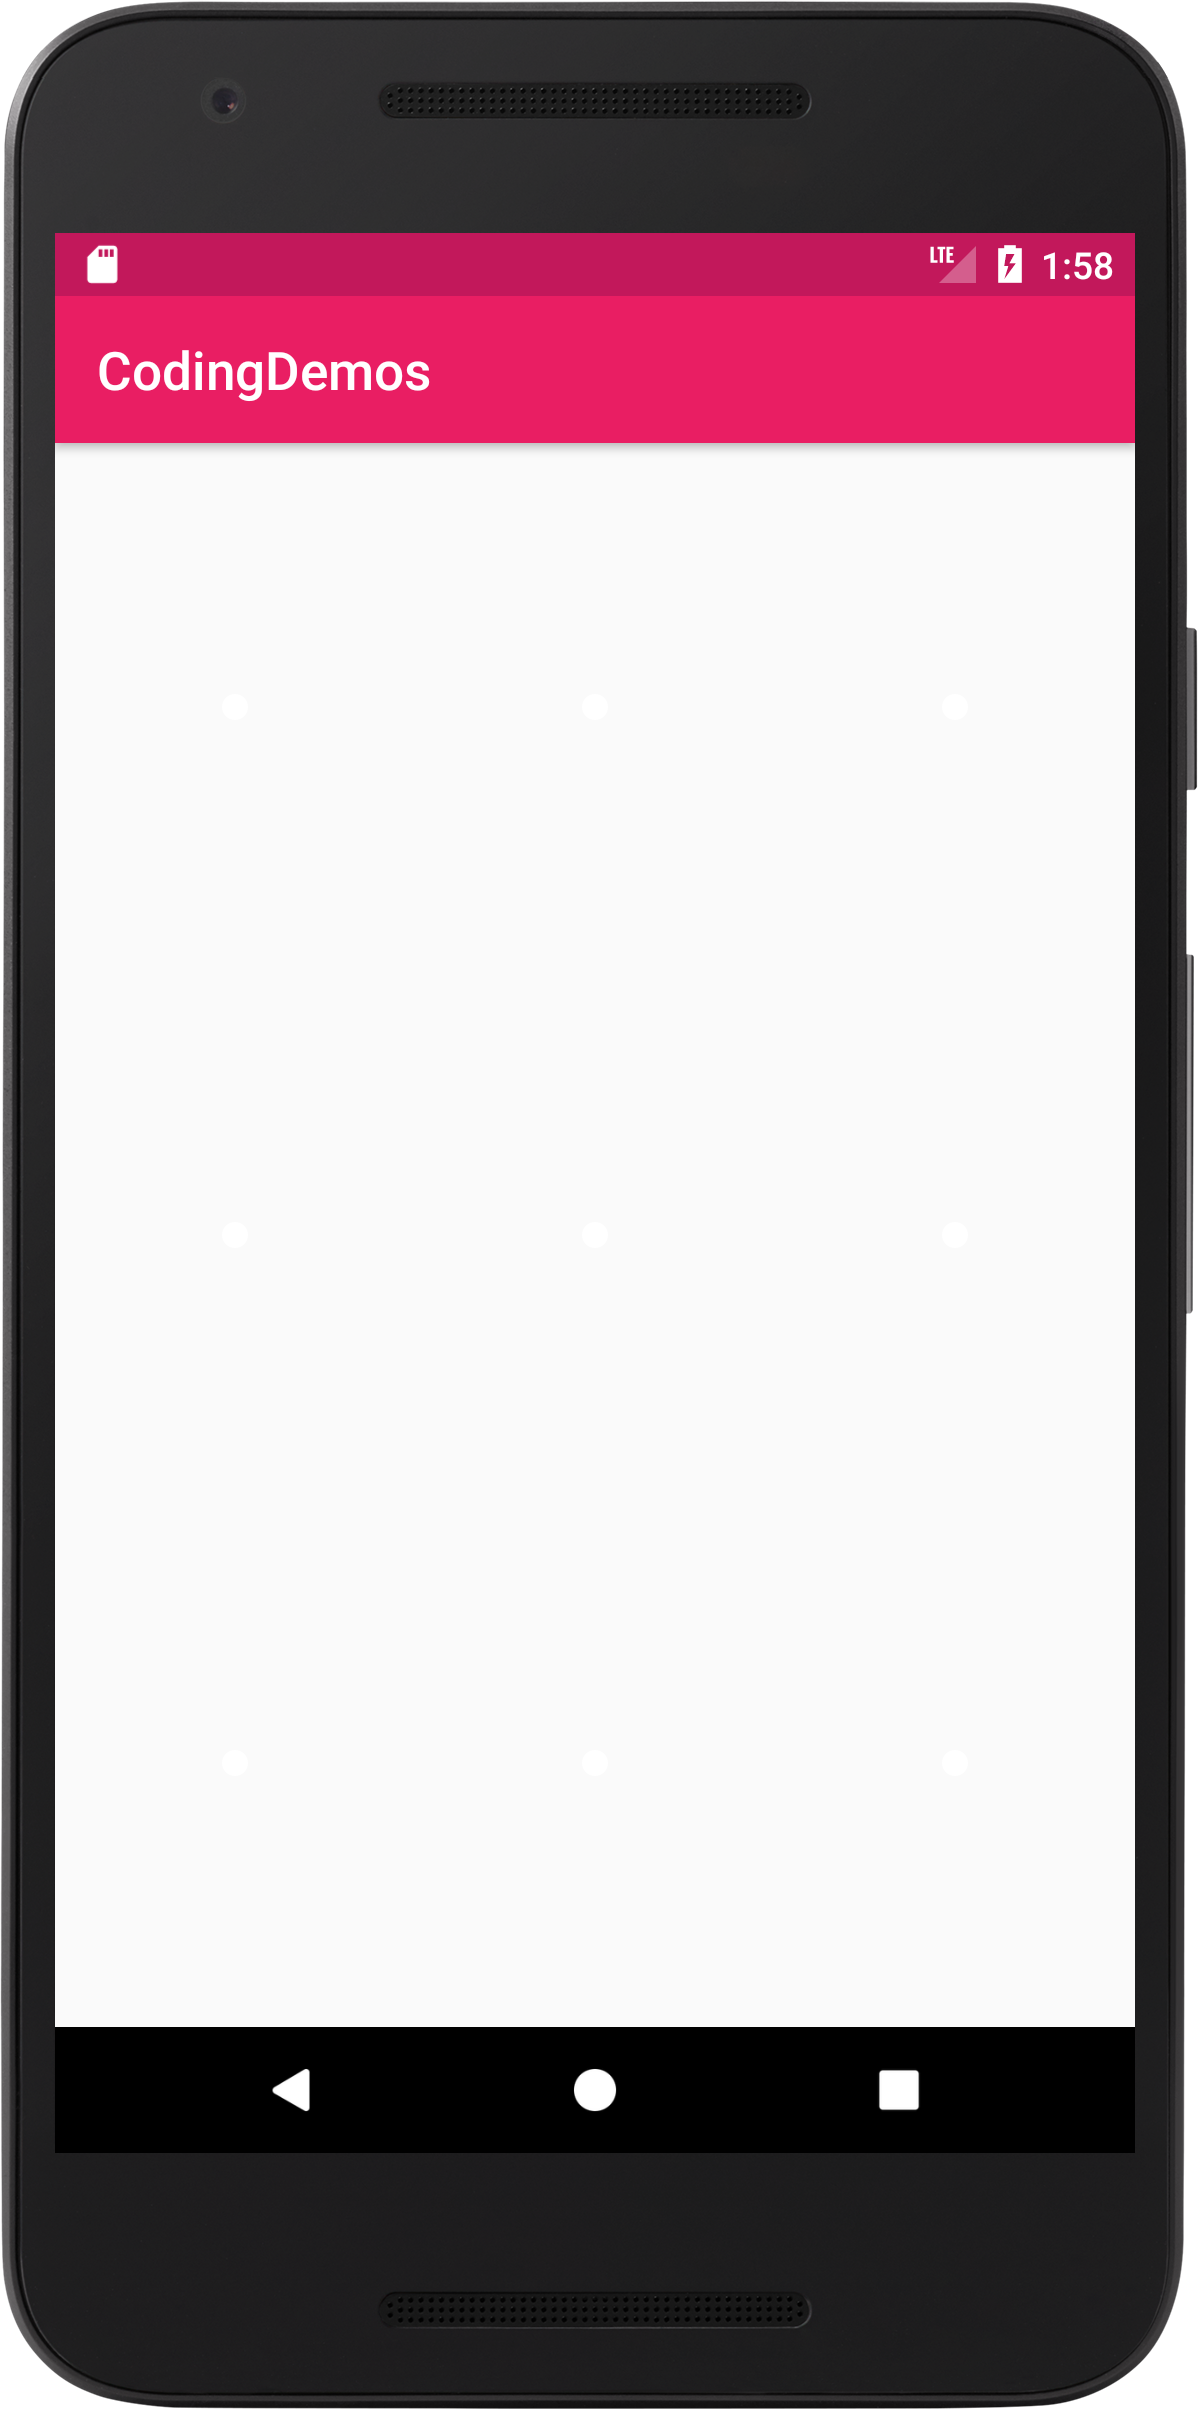
Android pattern lock dots. (Large preview)
9- To fix that, you can change the background color of lock view.
< com.andrognito.patternlockview.PatternLockView
    android:id="@+id/patternView"
    android:layout_width="wrap_content"
    android:layout_height="wrap_content"
    android:background="@android:color/background_dark"/>
10- Build and run the app to see the changes.
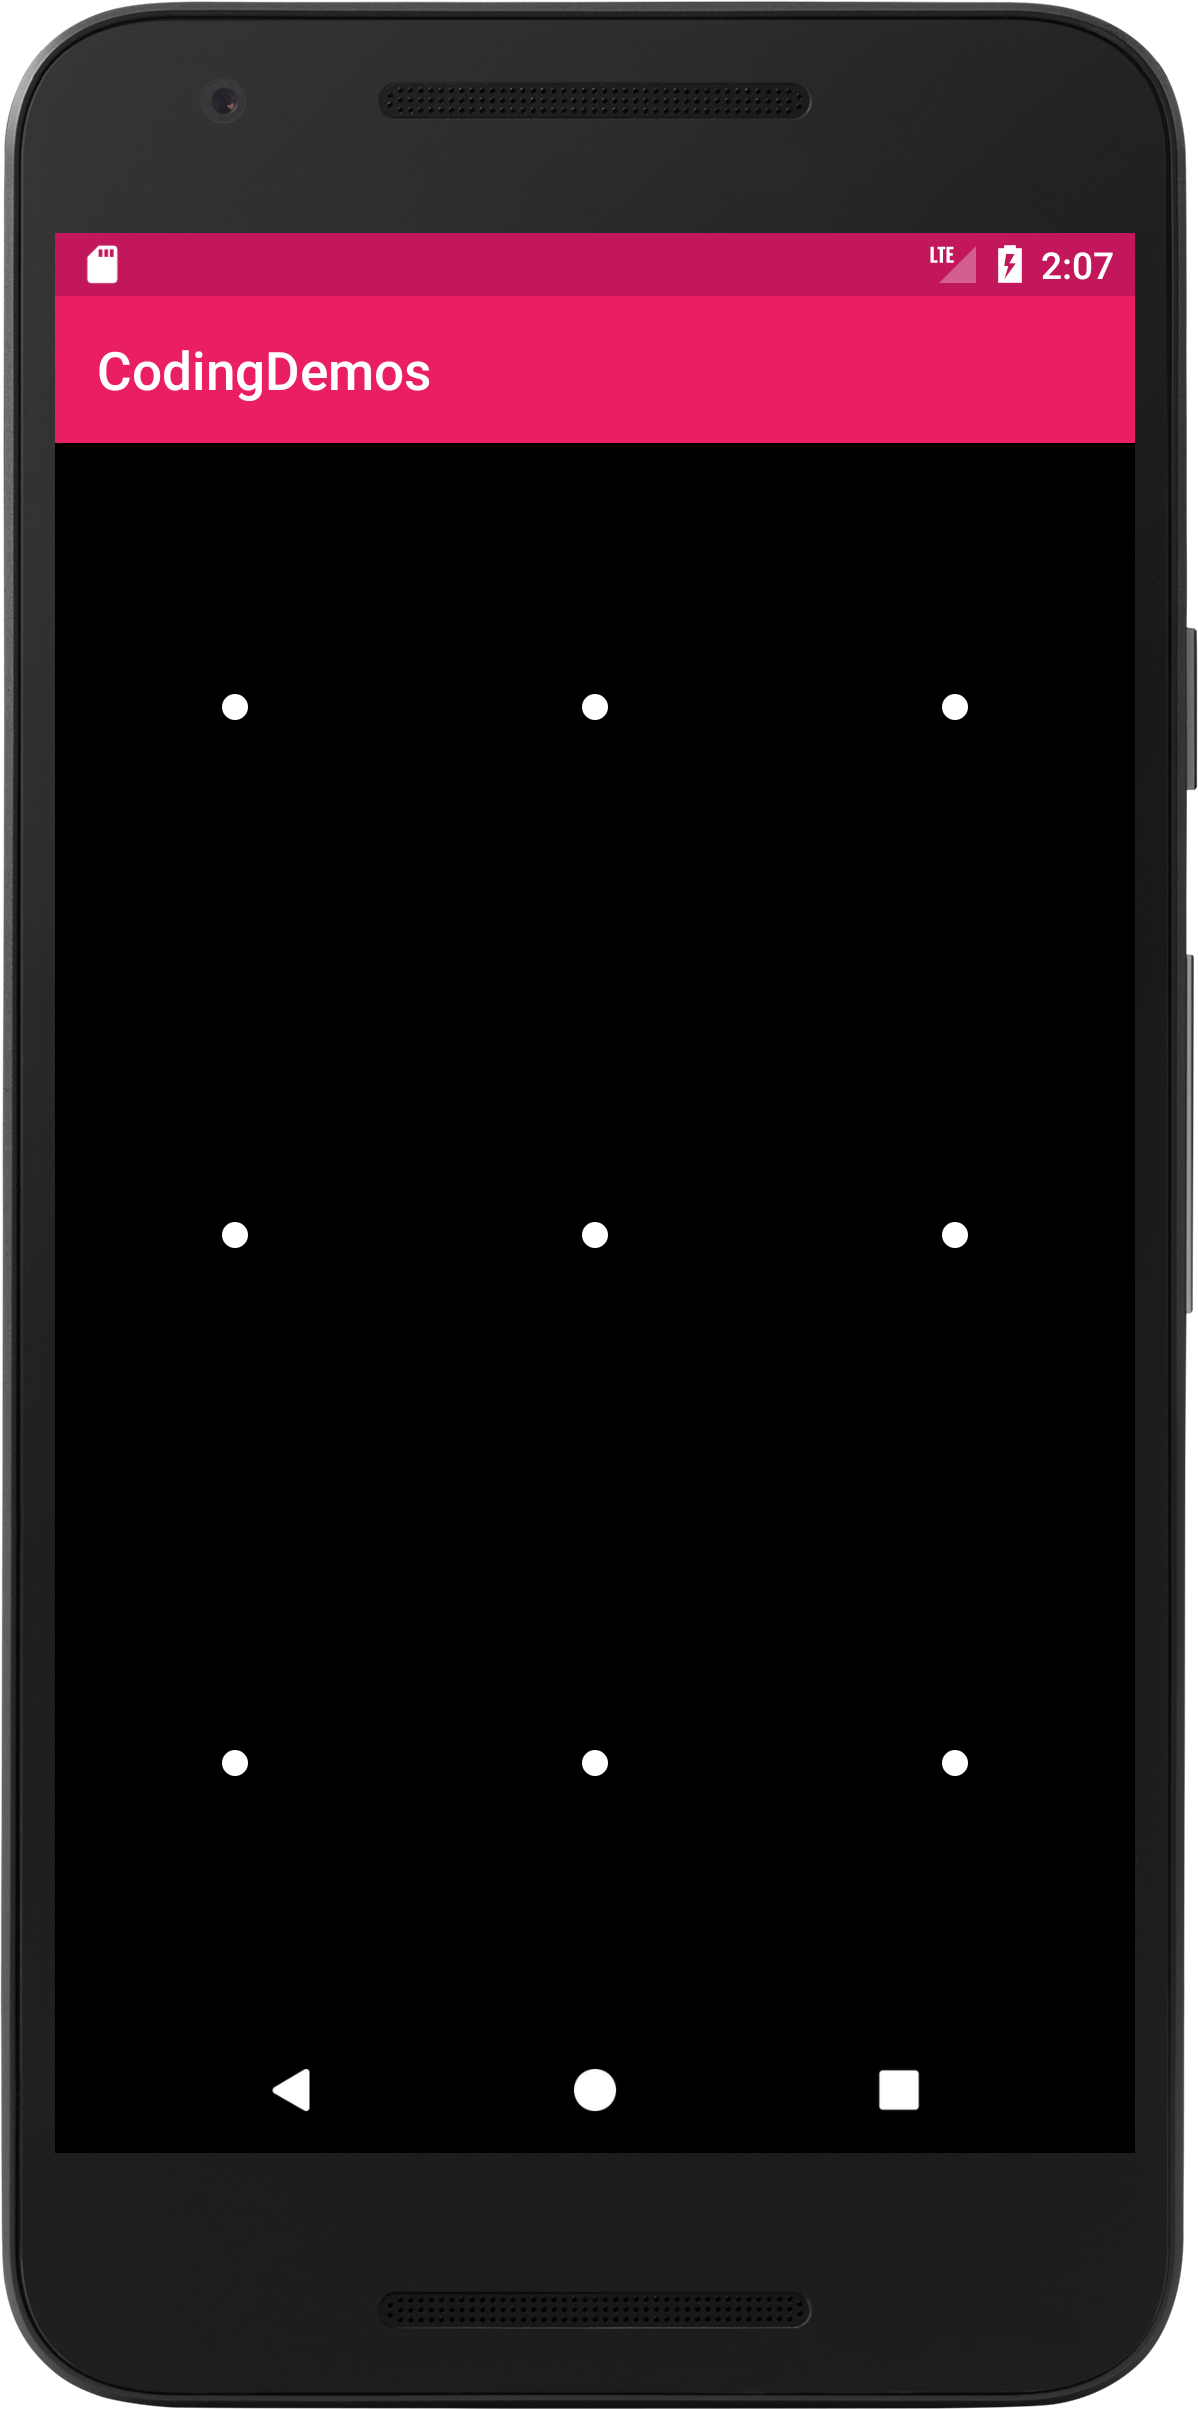
Android pattern lock view with dots. (Large preview)
11- Now open up MainActivity.java file to reference pattern lock view that was added inside activity_main.xml file.
PatternLockView patternLockView = findViewById(R.id.patternView);
12- Next you will use lock view pattern listener called AddPatternLockListener.
patternLockView.addPatternLockListener(new PatternLockViewListener() {
            @Override
            public void onStarted() {

            }

            @Override
            public void onProgress(List progressPattern) {

            }

            @Override
            public void onComplete(List pattern) {

            }

            @Override
            public void onCleared() {

            }
        });
Using AddPatternLockListener will help you keep track of when the user have started the swipe gesture, the current swipe progress, swipe completion and finally when swipe gesture is cleared.
13- You will be working mostly inside onComplete override method. You can know which dots the user had swiped over by using PatternLockUtils.patternToString and this will translate into a readable string format.
@Override
            public void onComplete(List pattern) {

                Log.d(getClass().getName(), "Pattern complete: " +
                        PatternLockUtils.patternToString(patternLockView, pattern));

            }
14- Build and run the app and when you swipe over the dots, you will see the output result inside Android Studio Logcat.
Android pattern lock view result. (Large preview)

Android pattern lock view result. (Large preview)
15- Now that you know how to get the actual values of the swiped dots, you can now customize that more to do some user validation to make sure that the user have actually swiped on the correct dots, otherwise show Android Toast error message.
if(PatternLockUtils.patternToString(patternLockView, pattern).equalsIgnoreCase("123")){
                    Toast.makeText(MainActivity.this, "Welcome back, CodingDemos", Toast.LENGTH_LONG).show();
                }else{
                    Toast.makeText(MainActivity.this, "Incorrect password", Toast.LENGTH_LONG).show();
                }
16- Build and run the app to see the result.
Android pattern lock view. (Large preview)
How to change color line for pattern lock view
You probably interested in showing different colors when the user swipe on the correct and incorrect dots 🙂
17- Open up colors.xml file and past the following colors.
< color name="colorCorrectLine">#008000< /color>
< color name="colorNormalLine">#FFFF< /color>
< color name="colorWrongLine">#FF0000< /color>
18- Next open up activity_main.xml file and past the following code inside pattern lock view.
app:correctStateColor="@color/colorCorrectLine"
app:normalStateColor="@color/colorNormalLine"
app:wrongStateColor="@color/colorWrongLine"
Here you’ve referenced the colors which were added inside colors.xml and used them in pattern lock view.
19- You can use the following code to show the correct color line.
patternLockView.setViewMode(PatternLockView.PatternViewMode.CORRECT);
20- You can show wrong color line using the following code.
patternLockView.setViewMode(PatternLockView.PatternViewMode.WRONG);
21- Finally open up MainActivity.java file and modify pattern lock view onComplete override method to include the following code.
@Override
            public void onComplete(List pattern) {

                Log.d(getClass().getName(), "Pattern complete: " +
                        PatternLockUtils.patternToString(patternLockView, pattern));
                if(PatternLockUtils.patternToString(patternLockView, pattern).equalsIgnoreCase("123")){
                    patternLockView.setViewMode(PatternLockView.PatternViewMode.CORRECT);
                    Toast.makeText(MainActivity.this, "Welcome back, CodingDemos", Toast.LENGTH_LONG).show();
                }else{
                    patternLockView.setViewMode(PatternLockView.PatternViewMode.WRONG);
                    Toast.makeText(MainActivity.this, "Incorrect password", Toast.LENGTH_LONG).show();
                }
            }
22- Build and run the app to see the result.
Android pattern lock view with different color lines. (Large preview)
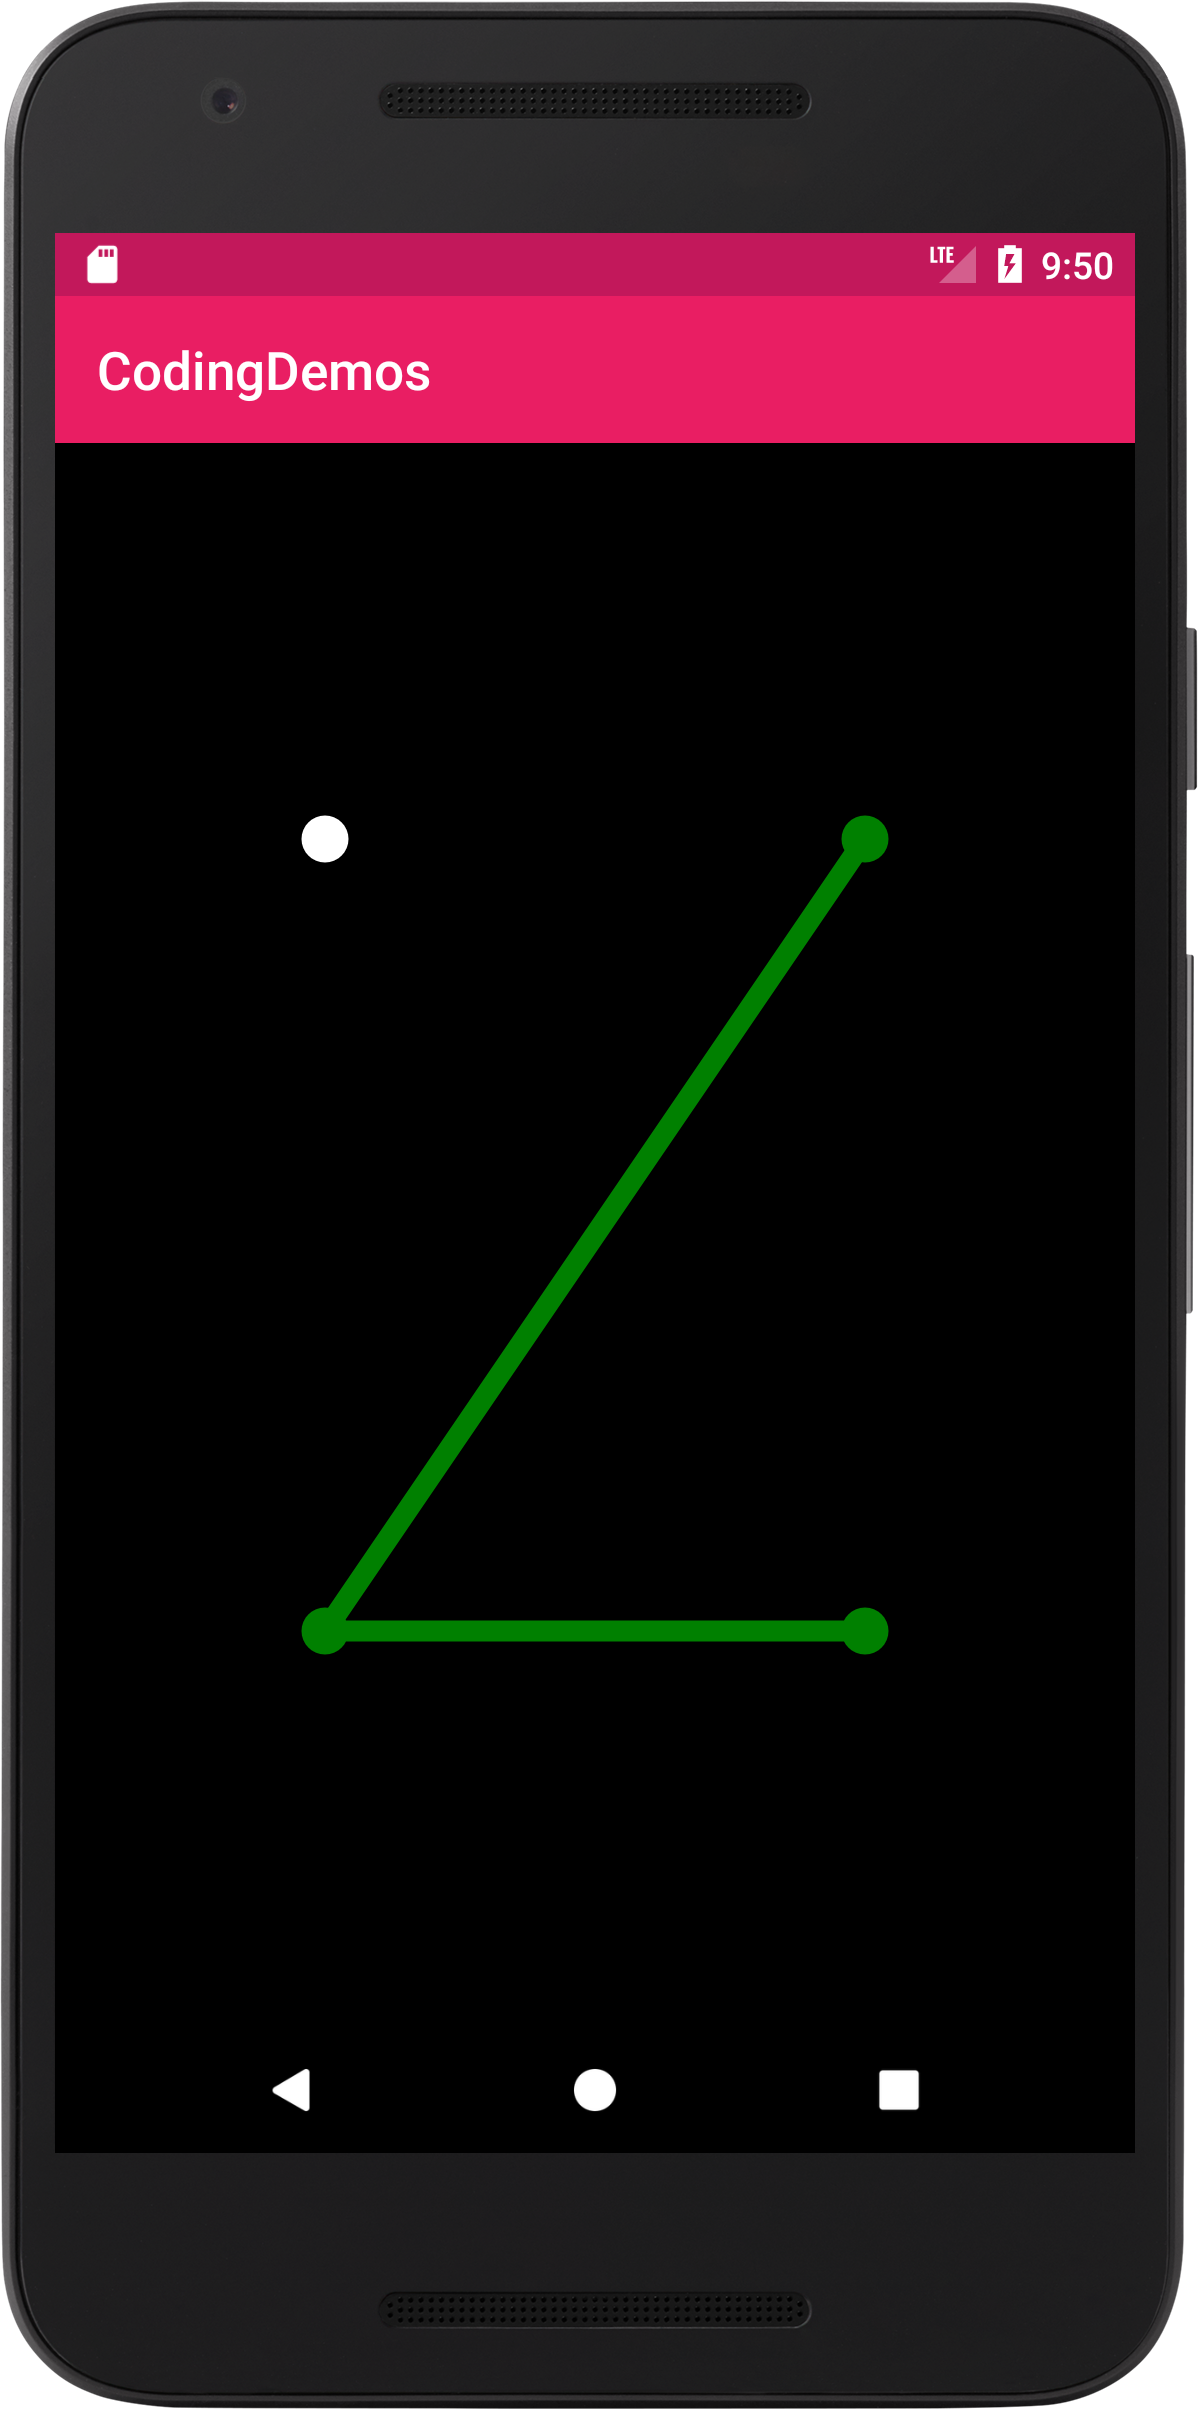
How to change number of dots for pattern lock view
Let’s say you have a requirement which you need to show 4 dots instead of 9 inside pattern lock view, and you are wondering if it’s possible to do that 🤔. Sure you can and here is how.
23- Open up activity_main.xml file and modify pattern lock view to include the following code.
app:dotCount="2"
Using app:dotCount will allow you change the number of dots in row and column.
24- Build and run the app to see the changes.
Android pattern lock view showing less dots. (Large preview)
How to change the size of dots for Android pattern lock
You can customize the dots size whether in normal state or selected state.
25- Open up activity_main.xml and add the following code inside pattern lock view.
app:dotNormalSize="18dp"
You use that app:dotNormalSize to change the size of the dot in normal state and here you set the size of the dot as (18dp).
You can change the the size of dot in selected state by adding the following code.
app:dotSelectedSize="20dp"
Here you’ve set the size of the dot to (20dp).
26- Build and run the app to see the result.
Android pattern lock view with bigger size dots. (Large preview)
How to change line thickness for Android pattern lock
You can increase the line thickness by using app:pathWidth.
27- Open up activity_main.xml and add that code inside lock view pattern.
app:pathWidth="20dp"
28- Now build and run the app.
Android pattern lock view with increased thickness line. (Large preview)
29- Here is the full code for activity_main.xml file.
< ?xml version="1.0" encoding="utf-8"?>
< LinearLayout xmlns:android="http://schemas.android.com/apk/res/android"
  xmlns:app="http://schemas.android.com/apk/res-auto"
  xmlns:tools="http://schemas.android.com/tools"
  android:layout_width="match_parent"
  android:layout_height="match_parent"
  android:orientation="vertical"
  tools:context="com.codingdemos.codingdemos.MainActivity">

  < com.andrognito.patternlockview.PatternLockView
    android:id="@+id/patternView"
    android:layout_width="wrap_content"
    android:layout_height="wrap_content"
    android:background="@android:color/background_dark"
    app:correctStateColor="@color/colorCorrectLine"
    app:dotCount="2"
    app:dotNormalSize="18dp"
    app:dotSelectedSize="20dp"
    app:normalStateColor="@color/colorNormalLine"
    app:pathWidth="8dp"
    app:wrongStateColor="@color/colorWrongLine" />

< /LinearLayout>
30- Here is the full code for MainActivity.java file.
package com.codingdemos.codingdemos;

import android.os.Bundle;
import android.support.v7.app.AppCompatActivity;
import android.util.Log;
import android.widget.Toast;

import com.andrognito.patternlockview.PatternLockView;
import com.andrognito.patternlockview.listener.PatternLockViewListener;
import com.andrognito.patternlockview.utils.PatternLockUtils;

import java.util.List;

public class MainActivity extends AppCompatActivity {

    PatternLockView patternLockView;

    @Override
    protected void onCreate(Bundle savedInstanceState) {
        super.onCreate(savedInstanceState);
        setContentView(R.layout.activity_main);

        patternLockView = findViewById(R.id.patternView);

        patternLockView.addPatternLockListener(new PatternLockViewListener() {
            @Override
            public void onStarted() {

            }

            @Override
            public void onProgress(List progressPattern) {

            }

            @Override
            public void onComplete(List pattern) {

                Log.d(getClass().getName(), "Pattern complete: " +
                        PatternLockUtils.patternToString(patternLockView, pattern));
                if (PatternLockUtils.patternToString(patternLockView, pattern).equalsIgnoreCase("123")) {
                    patternLockView.setViewMode(PatternLockView.PatternViewMode.CORRECT);
                    Toast.makeText(MainActivity.this, "Welcome back, CodingDemos", Toast.LENGTH_LONG).show();
                } else {
                    patternLockView.setViewMode(PatternLockView.PatternViewMode.WRONG);
                    Toast.makeText(MainActivity.this, "Incorrect password", Toast.LENGTH_LONG).show();
                }
            }

            @Override
            public void onCleared() {

            }
        });
    }
}
31- I hope you find this tutorial helpful and if you have any question please post them in the comment below.

Comments
Post a Comment